Getting started
New Install
User Onboarding
Downloads
What's New in 3.0.5
Reference
Roles
Features
Interfaces
Actions
Guides
Premiere Pro
DaVinci Resolve
Final Cut Pro
Media Composer
Move a Selection
Change the location of folder(s) and file(s) within a space or between multiple spaces.
super-embed:
<div style="position: relative; padding-bottom: calc(56.84210526315789% + 41px); height: 0;"><iframe src="<https://demo.arcade.software/gBLdRCjMJPSsy52StpSq?embed>" title="Move a Selection" frameborder="0" loading="lazy" webkitallowfullscreen mozallowfullscreen allowfullscreen style="position: absolute; top: 0; left: 0; width: 100%; height: 100%;color-scheme: light;"></iframe></div>
<aside>
⚠️ WARNING
When moving file(s) or folder(s) within the same space, the process should be extremely fast, since no data is actually moving behind the scenes.
Moving between spaces takes the same amount of time as a regular copy operation. Each file is copied individually and then deleted from its original location after verification.
</aside>
Step by Step
- Right-click on a file or folder and select ‘Move’ from the menu that appears.
- Choose the destination location where you want to move the file or folder.
- Adjust the settings as needed, such as selecting the job priority, conflict resolution, and toggling options like ‘Move Directory’, ‘Archive Overwritten Files’, ‘Copy Root Folder’, and ‘Recursive’.
-
(Optional) Use the 'Job Priority' scale to set where this job should fit in the queue. Be aware that setting the priority to 'Fastest' may delay other jobs. This setting doesn’t impact the speed of a job once it starts.
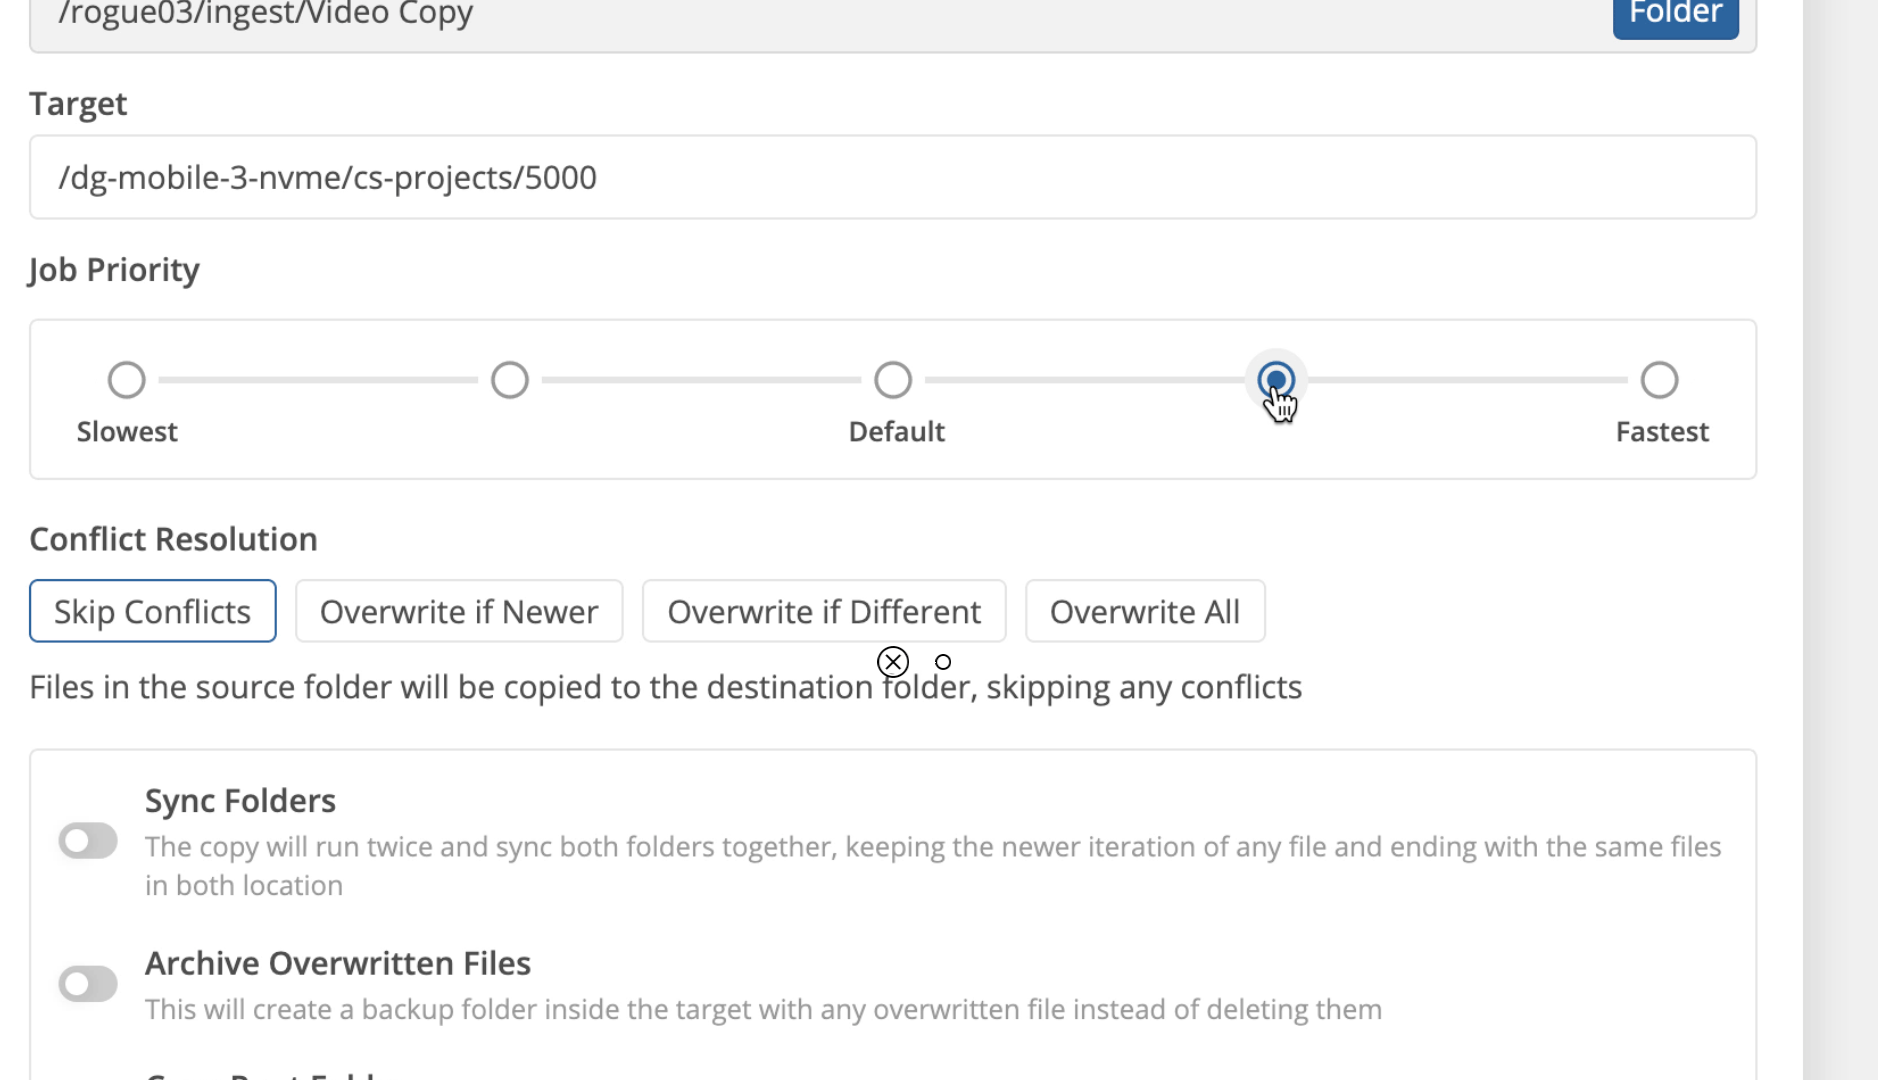
-
(Optional) ****Use ‘Conflict Resolution’ to choose how you would like to handle different copies of the same file in the USB device and in the destination folder.

<aside>
⚠️ When in doubt, you can always choose to overwrite all files, and also turn on archive overwritten files.
If you want to overwrite all files, and you don't want to archive overwritten files, you can always take a snapshot of the space before you ingest files into it. That way, if you find out that you need to get an overwritten file back, you can always restore it from a snapshot.
</aside>
-
(Optional) Use any of the following options to change how files are copied:
- Archive Overwritten Files: Archive any files that are overwritten during the copy process.
- Copy Root Folder: Include the root folder in the copy process.
- Recursive: Move the subfolders and their contents in addition to the files in the currently selected ‘Source’.
-
Click the ‘Move’ button to start the moving process.
← Previous
Right Click Actions
Next →
Apply a Template
On this page