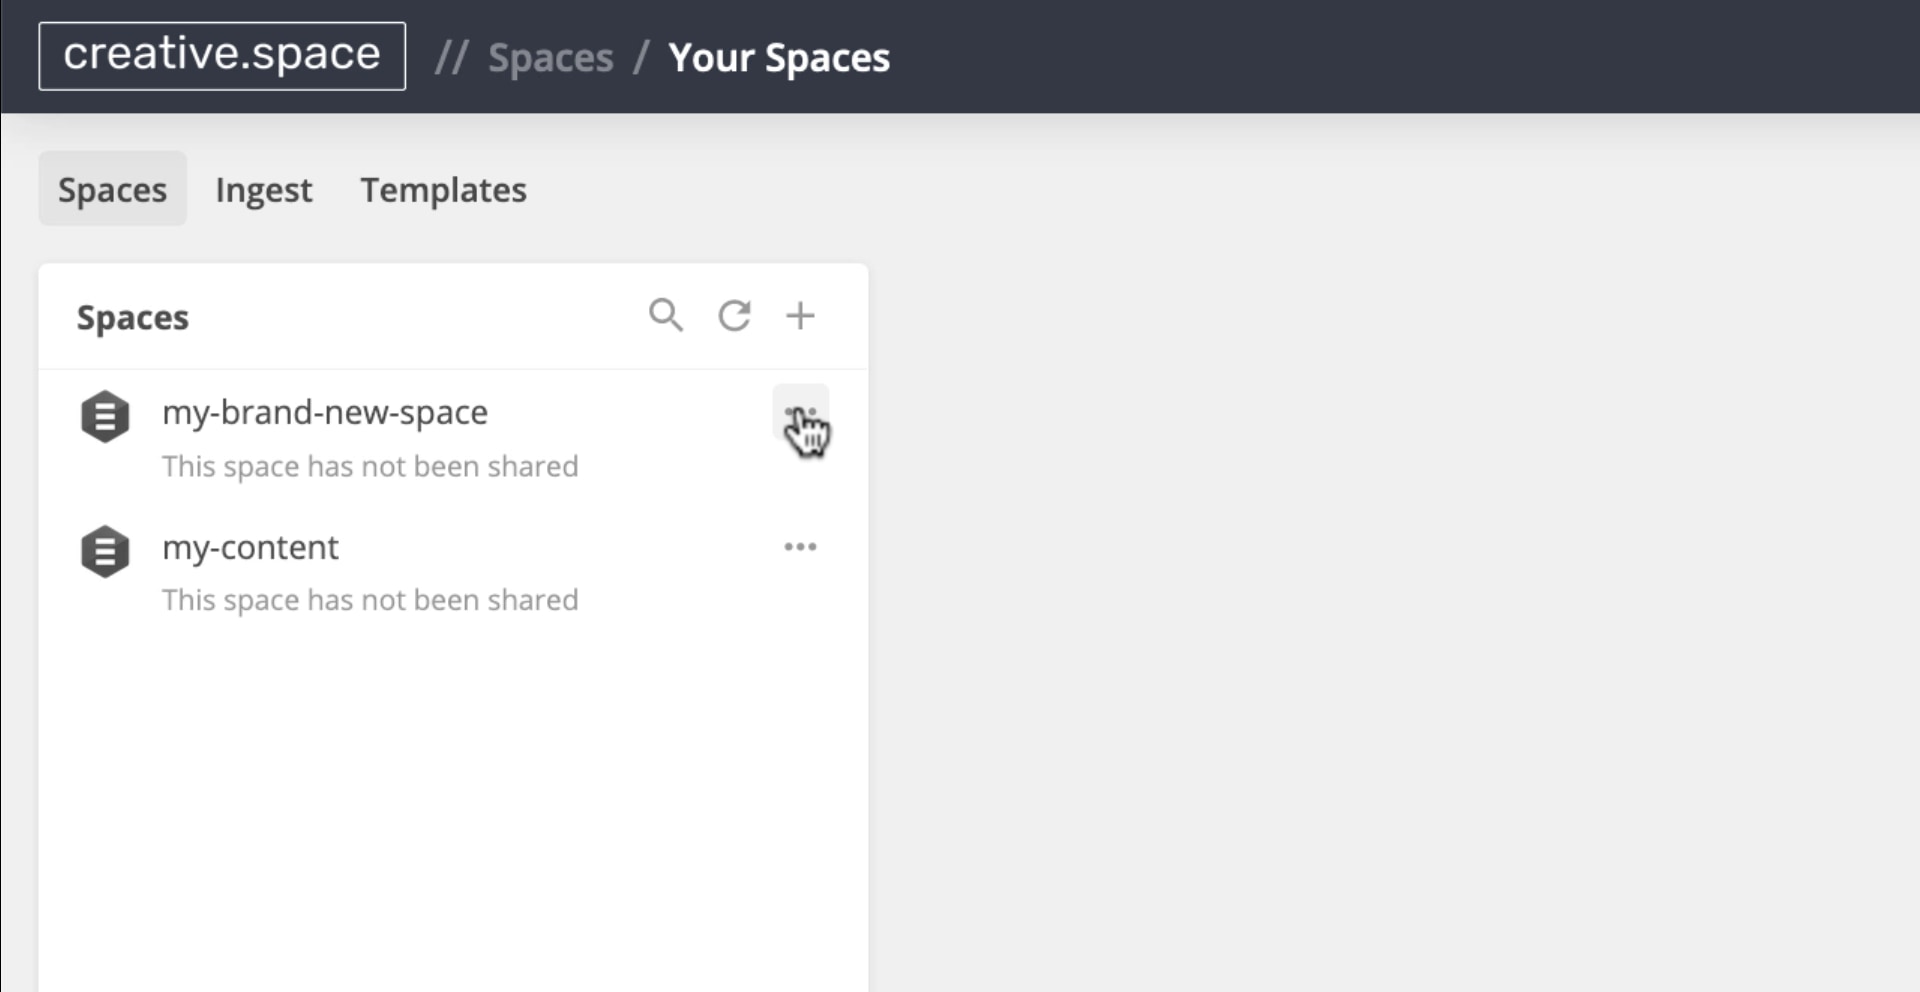
Go to the Spaces page of the web app as a ‘System Admin’.
Click ‘…’ . Then click ’Share Space’.
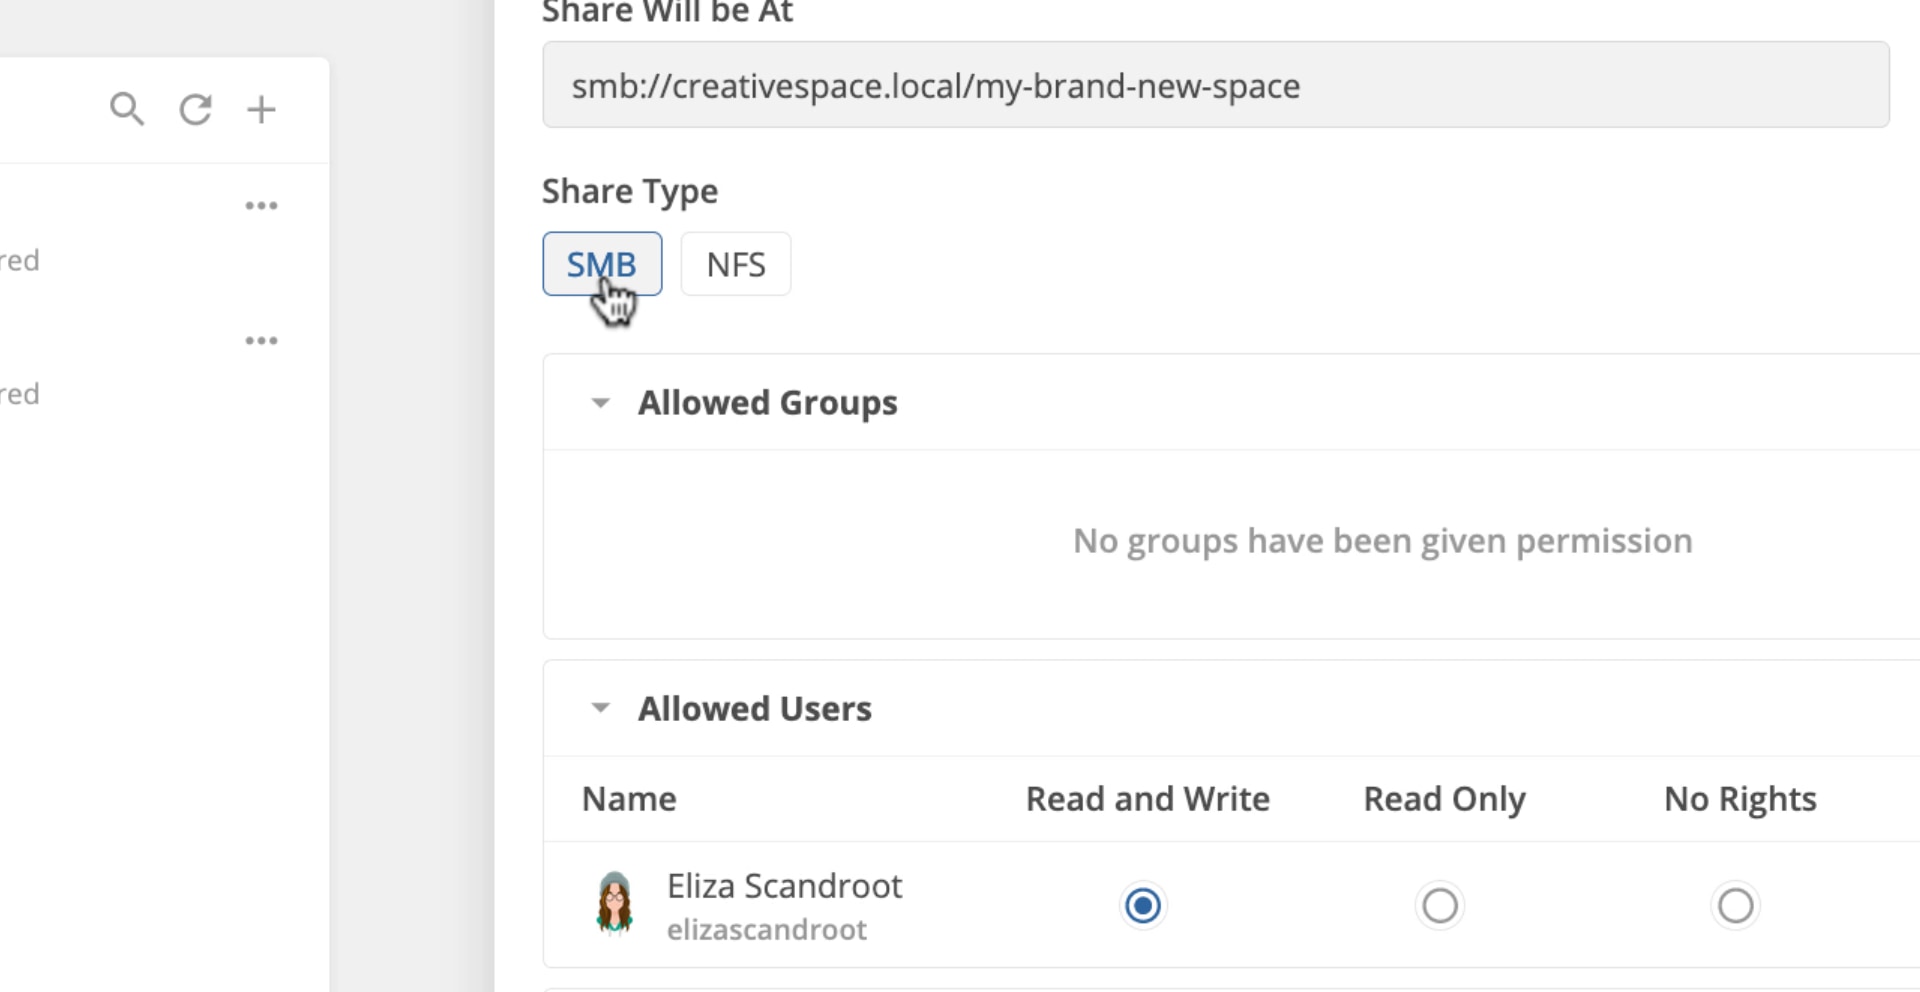
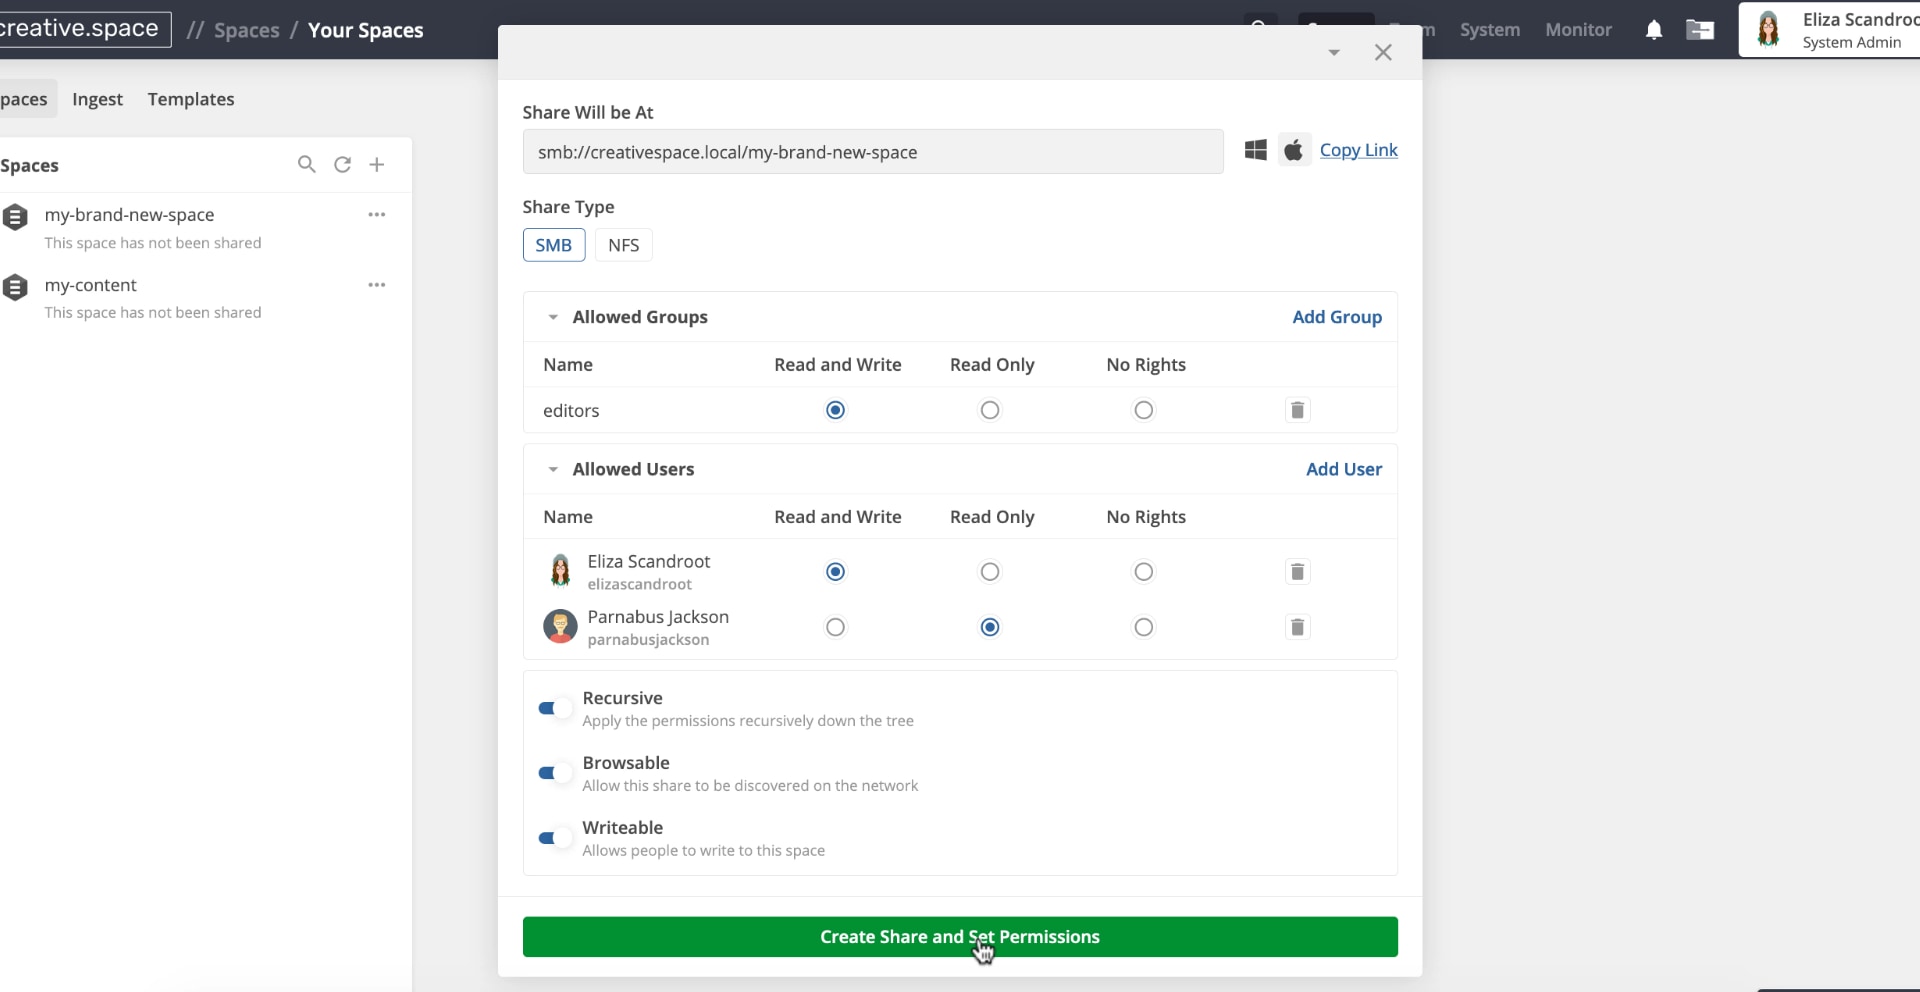
Copy the path for the share. You will be able to use this later to mount it to your desktop.
Use the ‘Share Type’ section to choose how you want to share the space.
<aside> ⚠️ If you aren't sure which type of share you need, choose SMB.
- What is the difference between SMB and Time Machine? Which one is right for me? </aside>
Click ‘Add Group’ and then select the group(s) you want to share this space with.
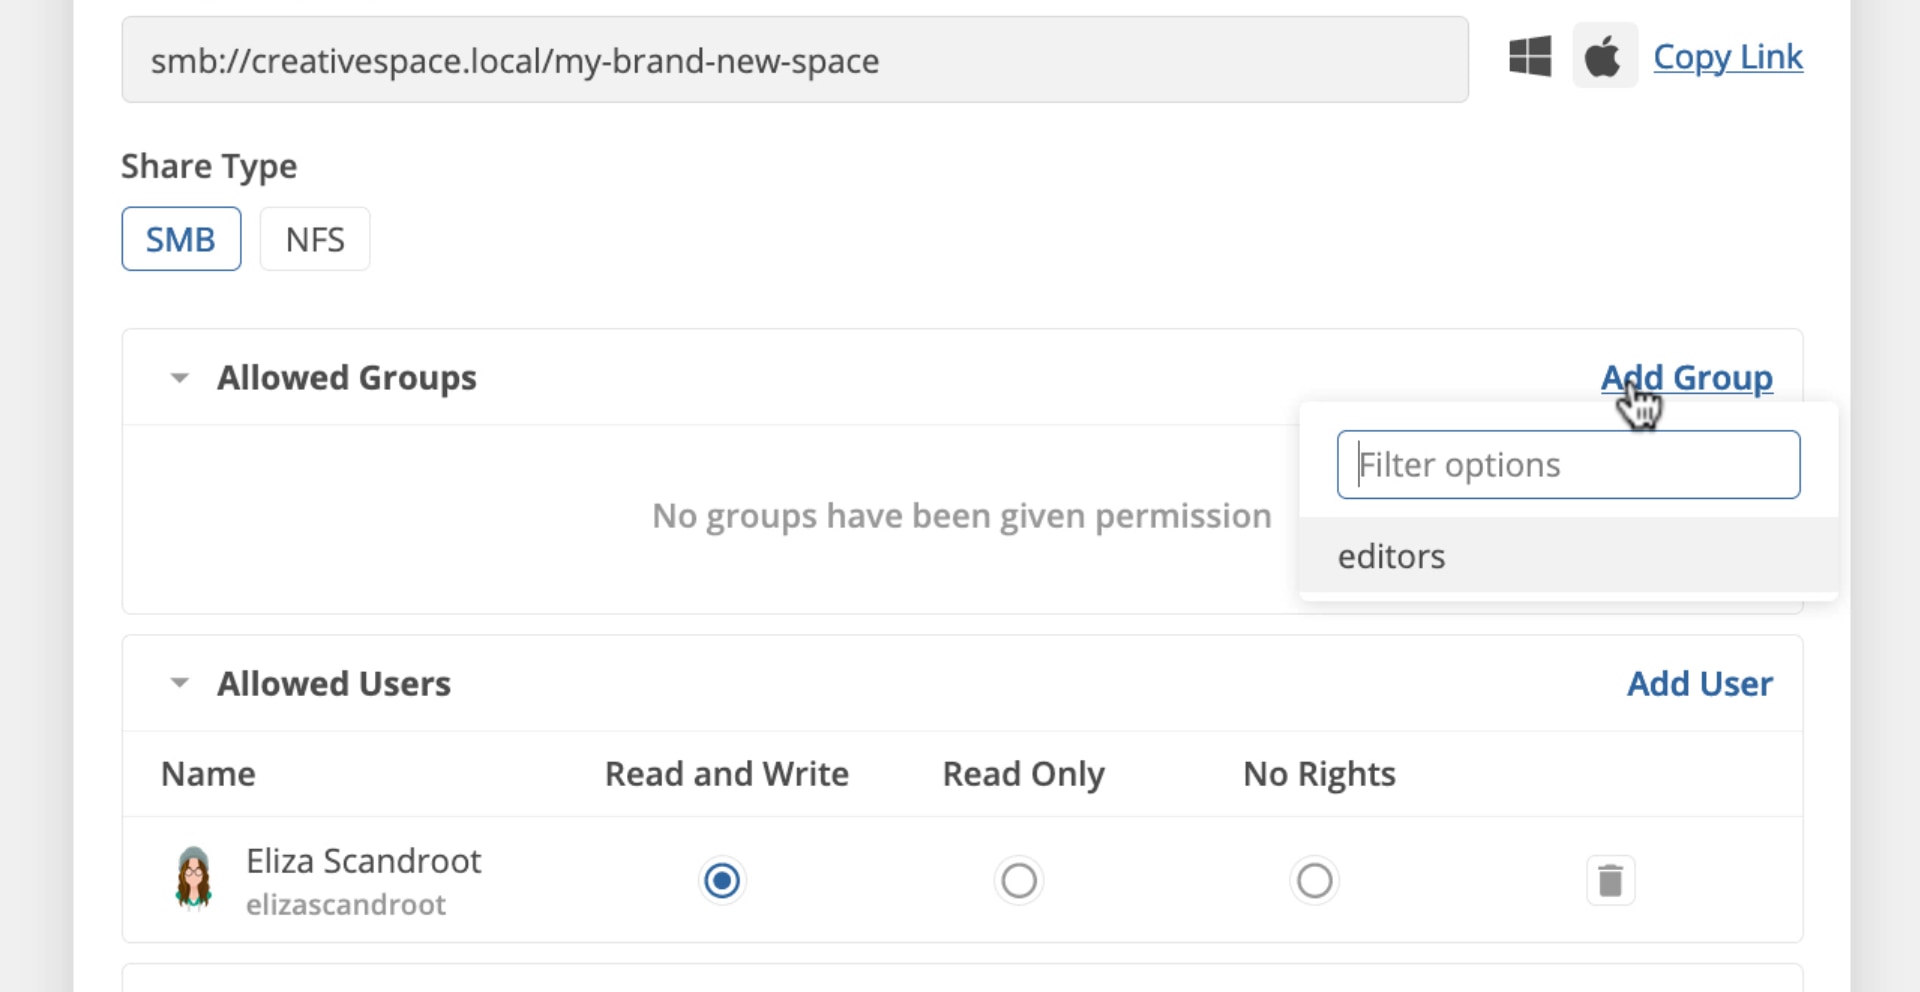
You can even adjust how much access the group has by selecting Read and Write, Read Only, or No Rights to determine the access that all of the users in the group have to the contents of the space.

| Read and Write | Read Only | No Rights |
|---|---|---|
| View Files | ||
| Modify Files | ||
| Delete Files | View Files | No Access |
<aside> ⚠️ Why would I give a group no rights? If there is a group you would like to exclude from the space, you can give them no rights to prevent them from accessing it.
</aside>
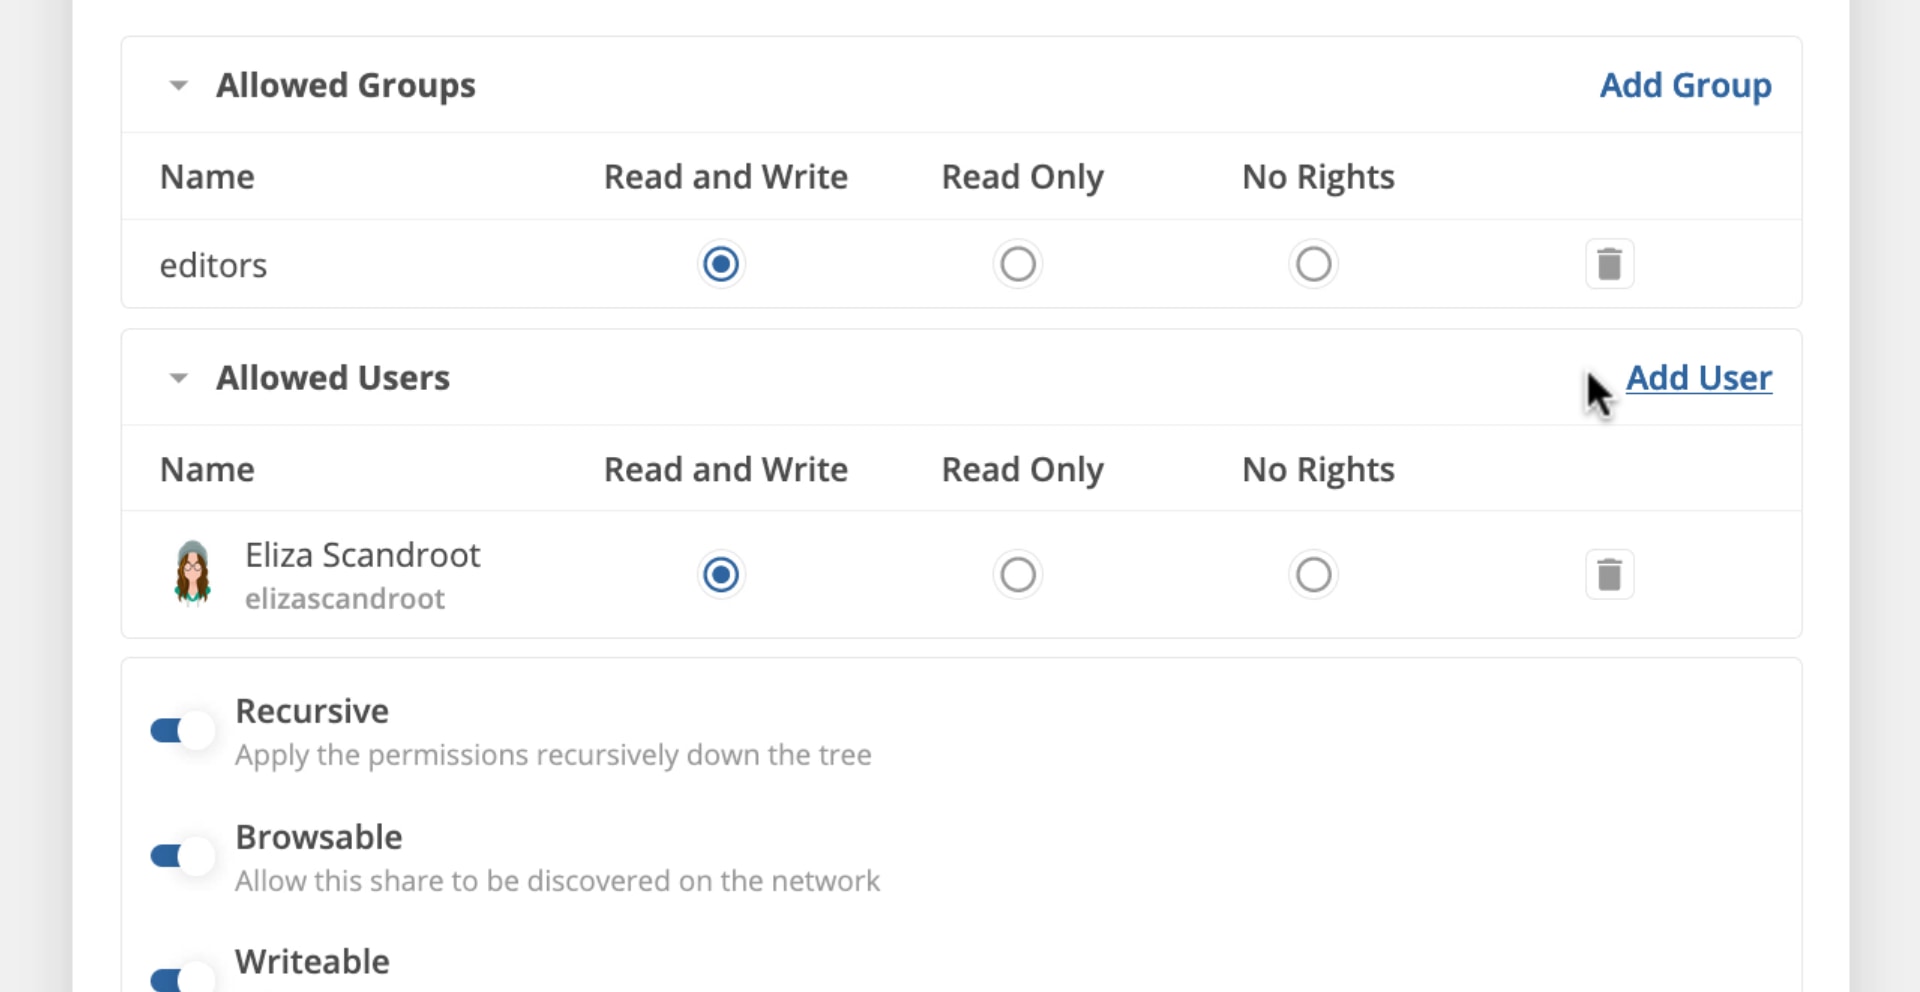
(Optional) Click ’Add User’ and then select the users you want to share this space with.
<aside> ⚠️ Use groups whenever possible. If you want to change a user’s access in the future, adding or removing them from a group is much faster than changing permissions for every space, folder, and file individually.
</aside>
(Optional) If you want to exclude a user from a space, and they are part of a group that has either Read and Write or Read Only access, you can give the user No Rights to prevent them from accessing the space. I.e. user rights will override group rights.
Click ‘Create Share and Set Permissions’.
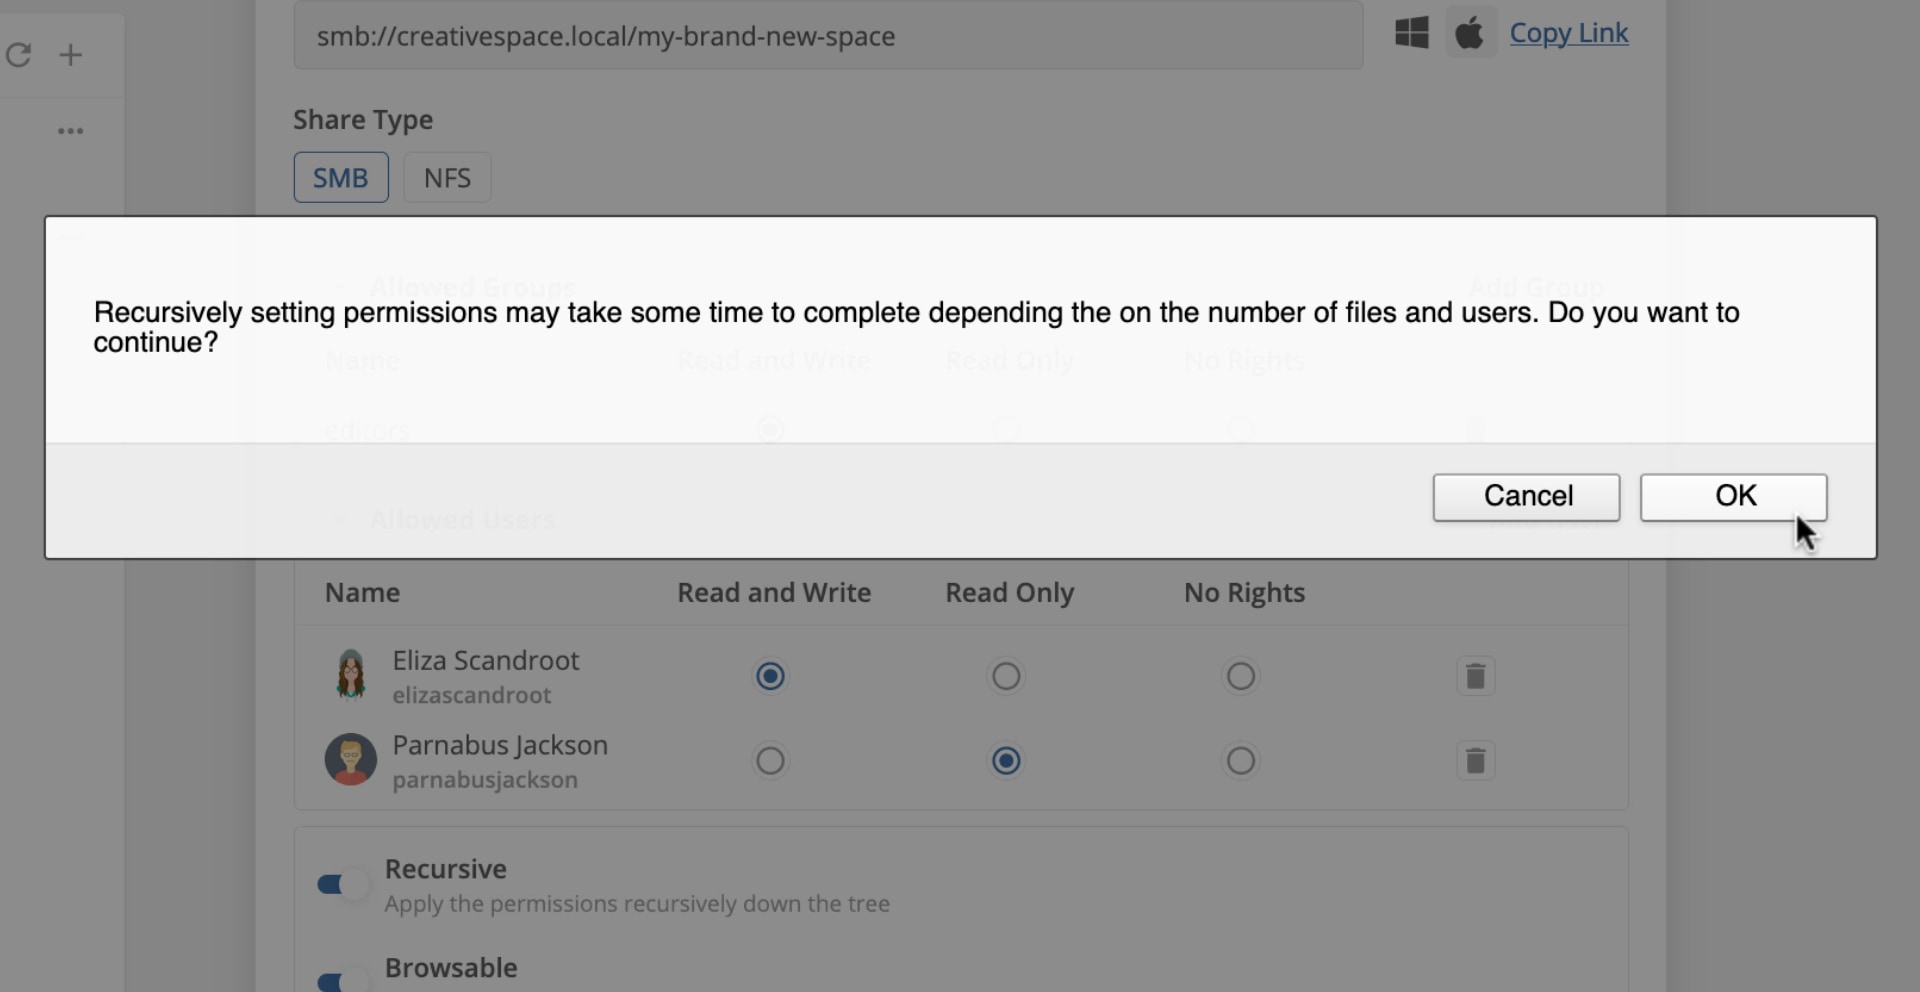
If you toggled on ‘Recursive’ to apply permissions to children, there will be a popup. Click ‘OK’.
Paste the address copied earlier to mount the share.
- MacOS: Paste into the address bar of your web browser and submit to mount in Finder (No need to create a new tab).
- Windows: Paste into the address bar of File Explorer to access the share.